Installation steps of professional audio line array
The definition of linear array loudspeaker system is composed of a group of loudspeaker units arranged in a straight line (or approximate straight line), closely spaced, with the same amplitude (the same caliber, the same type) and the same phase, as well as the corresponding structural members, and with some special directivity. The advantages of this structure: 1. Relatively small attenuation, used in long-distance, high-power sound reinforcement system. 2. The vertical directivity is narrow, reducing the reflection of ceiling, ground and objects. Improve sound quality and clarity. 3. Quick layout. 4. Simple appearance.

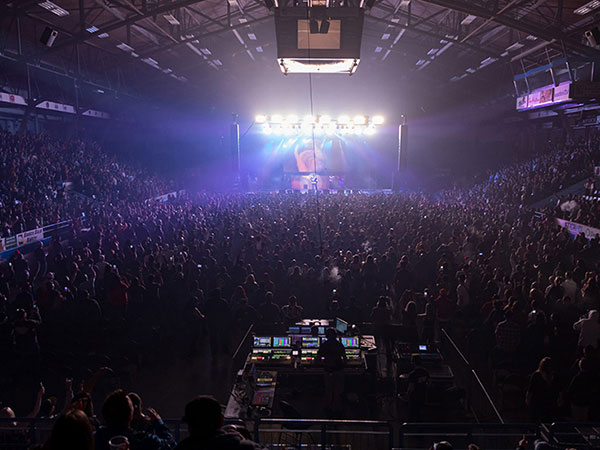
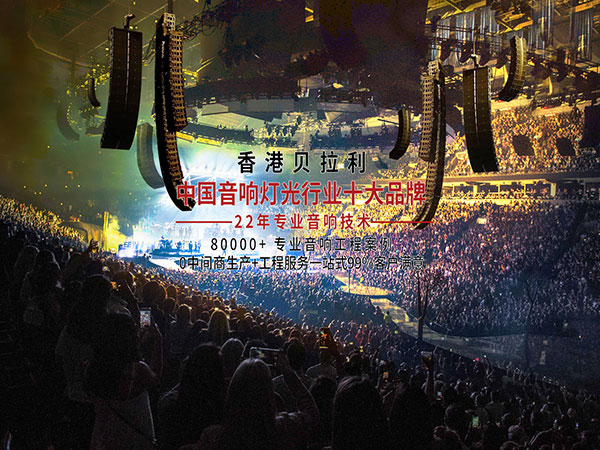
Bellary's large linear array, such as Q4 single 12 inch linear array system, is mostly used for large-scale performances. Bellary also specializes in small-scale stage performance, banquet hall and other places designed a small linear array, like the Q7 series, the effect is not lost to the large-scale stage scene at all.
How is the Bellary array installed when it is so large?


1. Preparation tools: A. wire array hanger B. hoist C. u shackle D. marshaling sling

2. Installation of hoist

3. Install the hanger

Note: u-shackle installation hole position, from the back to the front of the hanger, the 6th and 8th holes

There's only one jack on the side, "front" has two jacks, and the "back" speaker is installed facing the front
4. The linear array speakers are connected with each other

This is the first one below. First, turn over the connector, fix the angle and insert the bolt

Second only

In the figure, the four speakers have been inserted into 0 degrees. If you know how many angles to insert, you can also install the specified angle in advance!
5. Connection between linear array speaker and hanger

Pay attention to the wiring at the back
6. off the ground

7. Wiring requirements

Note: the cable used on the speaker is 4-core, "1 +" "1 -" "2 +" "2 -" should be connected!!!!
If only "1 +" 1 - "is received in the traditional way, then only the bass is heard!!

Four core short wire
If there is no four core wire, two ordinary two core wires can be used instead, as shown in the figure below

The core wires share one speaker plug

After the two wires are connected, two 4-core wires are connected to the first one respectively. Again, it is emphasized that all wires are 4-core wires.

8. Method of changing angle

A. First, pull out the upper and lower pins at the back of the side. There are 4 bolts on both sides
B. Turn the connection deflection to the angle of the system, which is 7 ° in the figure, and insert the pin, as shown in the figure above

C. Adjust the angle of the speaker, align the upper 7 ° holes, and insert the bolt, as shown in the figure above
9. Fix horizontal angle with drawstring

Use a level to measure the angle between the hanger and the speaker. The horizontal angle of the hanger is 10 ° (preferably 8 °)

The angle between the bottom speaker floor and the horizontal is 31 ° (preferably 29 °)

There is no professional level meter, but it can also be replaced by mobile app.
10. Installation dimension (projection distance 25m), allowable angle deviation range: ± 1 °, allowable length deviation range: ± 3cm